By Eric Dawson July 1, 2025
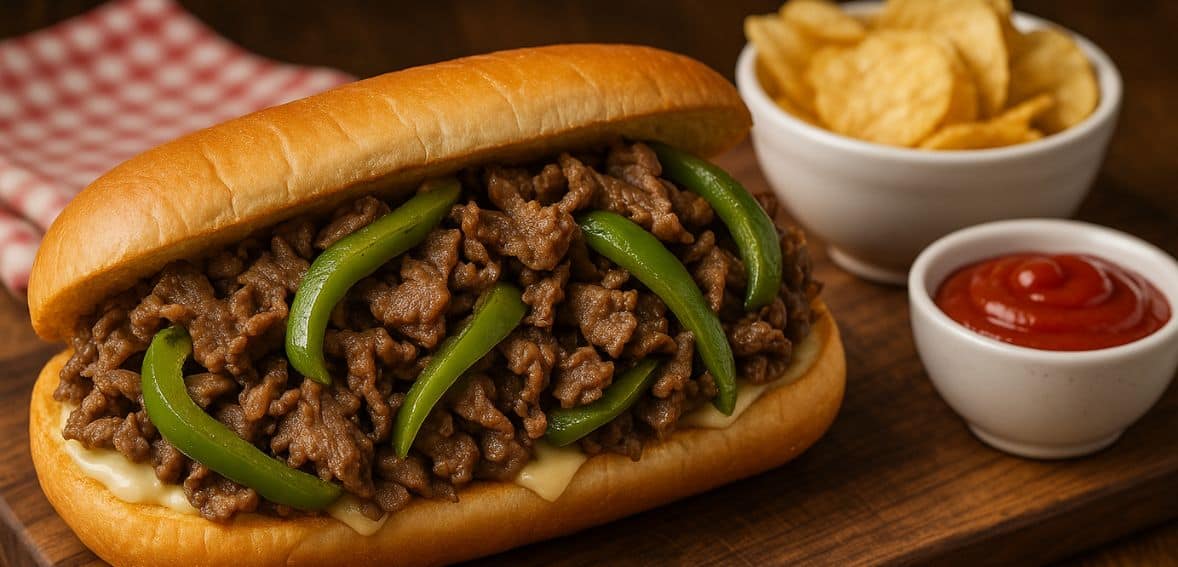
Making a Philly cheesesteak captures its true spirit—just like the Liberty Bell, it’s a piece of Philadelphia’s identity. The key to greatness is deeper than the numerous videos on YouTube that show off the fundamentals, like sizzling meat, melting cheese, and a satisfying flip onto a roll. It’s all about the little things—how much cheese to meat, the split-second timing that determines the ideal sear, and the choice of roll that does more than uphold the sandwich.
In this article, we’ll share restaurant-grade insights and local wisdom you won’t find in DIY clips. By blending history, technique, and a little Philadelphia attitude, you’ll learn how to make a cheesesteak that isn’t just “good for home”—it’s worthy of its hometown.
Understanding the Roots: Why Each Element Matters
Every iconic Philadelphia cheesesteak restaurant, including Geno’s Steaks and Pat’s King of Steaks, knows the story is the key to success. In the early 1930s, Pat and Harry Olivieri created the sandwich by grilling beef and onions, laying the groundwork for what would eventually become a cultural staple. It’s more than history—it’s the blueprint for doing it right. A particular Italian roll was selected because it naturally holds it all together, onions because they work well on a hot griddle, and ribeye because of its flavor and marbling. Knowing these beginnings allows you to respect the sandwich’s essence while perfecting it at home.
Choose the Right Meat and Slice It Thin
Finely sliced ribeye is the foundation of a true Philly-style cheesesteak; forget about thick slabs or chunky strips. Even store-bought ribeye benefits from being chopped or cut several times after slicing, according to Serious Eats. Because it maximizes surface area for cheese infiltration and crisp edges while sealing in juice, local Philadelphians swear by finely chopped “ribbons,” not mince or slabs. A 1/8-inch meat slicer is a restaurant’s secret weapon. If you’re doing it at home, freeze the steak until it’s firm, then use a sharp knife to shave thin layers and then chop it lightly. Take your time; this stage determines the mouthfeel and texture.
Mastering the Griddle: Temperature and Technique
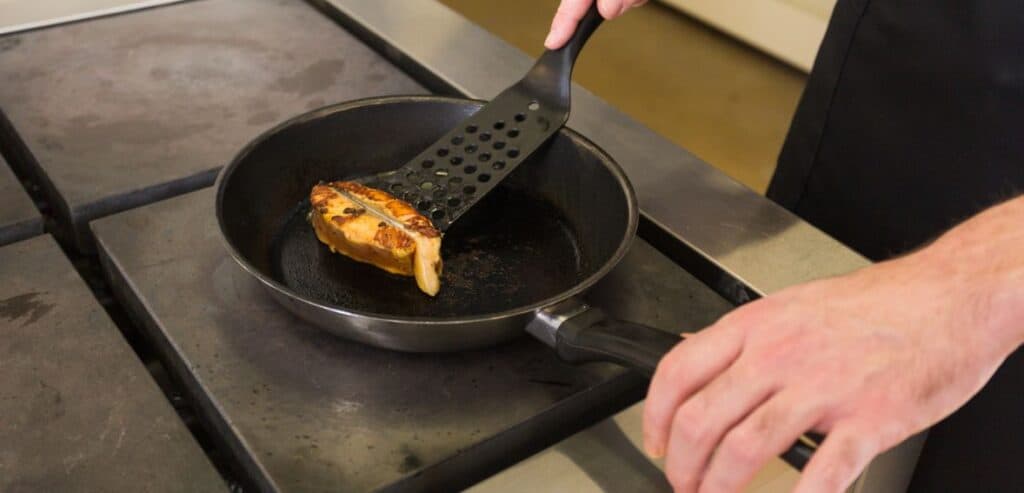
Meat will steam rather than sear if your heavy skillet or griddle isn’t hot enough. To achieve that sweet caramelization without burning your onions, experts advise heating your food to between 400 and 425°F. Before adding oil, let the pan heat through. After arranging the meat in a uniform layer and allowing it to color for a moment, start chopping and tearing it apart.
The objective is to produce tender, well-seared morsels of meat, not to fry them until it is completely dry. After the first edge has browned, add onions and stir until they are translucent with a hint of golden edges. The sandwich is elevated by skilled chefs who strike the right balance between textures, temperature, and timing.
Rolls Matter: Amoroso Isn’t Just a Name
Amoroso rolls are nearly always used in renowned stores like Pat’s and Geno’s. Just enough to withstand spills and oil, but soft enough to bite into without separating from the filling, these rolls have a faintly salty taste on the inside and a slightly crispy outside. When you taste a proper roll-to-filling ratio for the first time, you’ll see the difference. Many home cooks choose generic sub rolls. Prioritize rolls that are sturdy but soft if Amoroso isn’t available where you live. Although it’s not required, lightly toasting them on the griddle can give them structure and warmth.
Cheese: The Unspoken Hero
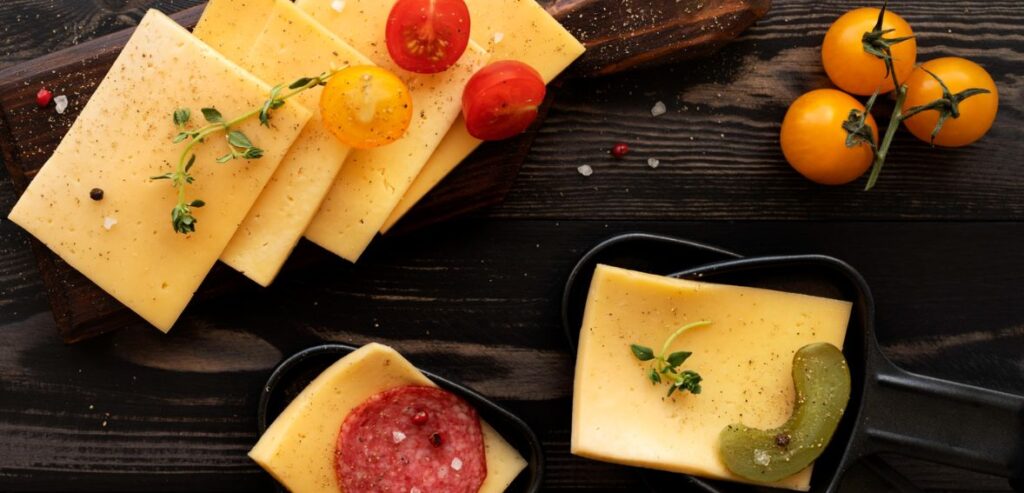
The choice of cheese separates innovators and purists. According to the Philadelphia consensus, it’s either provolone, American cheese, or the cult favorite Cheez Whiz. While restaurants shingle multiple slices or layer shredded provolone, YouTube videos frequently show a single slice sandwiched between bread halves. A smart tip from Serious Eats is to melt cheese on top of the meat and then turn it over so the cheese forms the bottom of the roll and keeps the bread from getting soggy.
For melty comfort, some chefs blend the poignant Whiz with the sharpness of provolone. Taste your preferred cheese on meat right out of the pan, not from the package; once it’s submerged in the flavorful mixture, its texture and heat change.
Onions—and What to Exclude
Don’t let the onions caramelize like you would in French onion soup; instead, cook them alongside or just before the meat. To make chopped onions soft, sweet, and dotted with meat-rich juices, restaurants flash-cook them. Strict traditionalists advise against eating peppers or mushrooms.
Like some Philly spots, if you do serve extras, sauté them separately and serve them alongside. Once you’ve nailed the classic, feel free to offer custom add-ins to suit your audience while still honoring the traditional formula.
Assembly: The Sandwich Architect’s Moment
Even in this case, strategy is important when it comes to sandwich construction. A skilled chef arranges the meat-cheese mixture lengthwise, covers it with a lid to melt the cheese, flips it over, and scoops it into a hinged roll. For home service, wrapping the sandwich in foil helps blend flavors, but ovens (250°F for 10 to 15 minutes) can also do the same. The subtle transition from home-cooked to restaurant-quality is allowing the flavors to settle a bit, whether it is served on a tray lined with paper or wrapped for later.
Why Grease Isn’t the Enemy
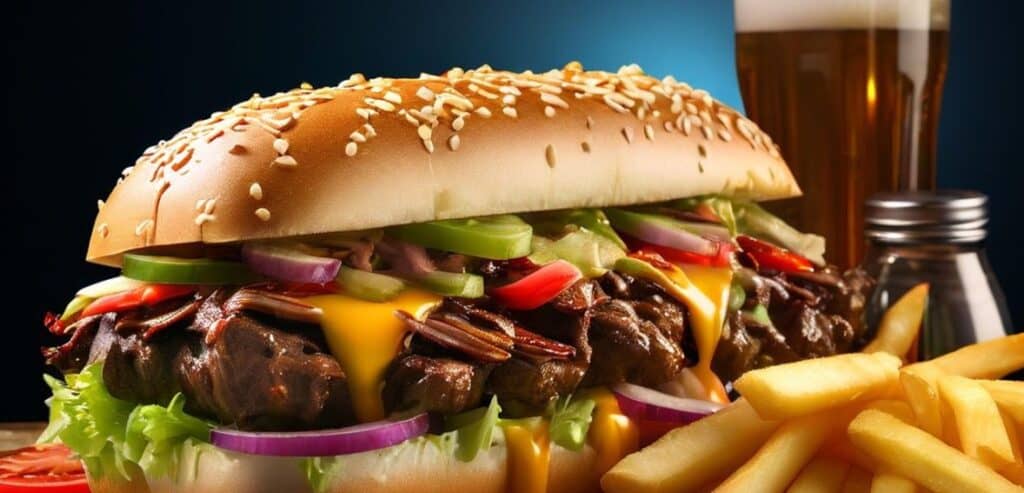
Yes, a tip you won’t often find online: don’t drain the grease all the way. A small amount of rendered fat adds moisture, flavor retention, and richness. Legendary locations such as Tony Luke’s and Pat’s are unreservedly generous with it. While swimming in grease puddles isn’t the same as that, a light film adds to the authenticity. Instead of being bland or dry, the perfect cheesesteak is juicy, flavorful, and moist—something you’ll instantly recognize in every bite of the ultimate cheesesteak experience.
Restaurant Pace: Know When to Hold Back
Chefs at restaurants never show when they’re about to scoop cheese into a roll or flip it onto meat. It’s a combination of theater and timing. Simulate this at home by letting the melted cheese sit behind a lid for 30 seconds before scooping. It guarantees an even melt without overcooking and enhances flavor blending. A chef’s ally is patience.
Insider Cleanliness Hacks
Another piece of advice that is seldom addressed on YouTube is to keep a nearby “clean zone” close to your griddle. Hold the cooked meat in a different pan or plate while you clean up any splatters and finish assembling. Flavors can be produced by the rapid burning of seasoning oil and residue. Between batches, experts clean the griddle to improve flavor integrity and surface temperature—standard in any serious kitchen operating under proper restaurant licensing. Replicate that by keeping a spatula or paper towel on hand to remove any leftovers while preserving the same level of heat and flavor.
The Role of Timing and Rhythm In Cheesesteak Perfection
The importance of rhythm in a cheesesteak kitchen is something that most home cooks are unaware of. Professional restaurants have a rhythm to their movements; they are neither hurried nor idle. There is a rhythm to each step: the meat is placed on the griddle, the onions are added at a specific time, and the cheese is placed at the ideal moment, when the meat’s juices are bubbling but not yet cooked.
It’s a well-timed shuffle rather than a race to the finish. You must mimic that pacing when preparing a cheesesteak at home. Don’t overcook the meat; instead, allow it to brown. This will allow the cheese to melt into the layers without getting rubbery. If any of these steps are rushed, what could have been a great sandwich becomes a soggy or dry mess.
The change from cooking to serving is another subtle yet powerful element. Cheesesteaks are frequently served at restaurants seconds after they are taken off the griddle. The bread has just begun to absorb flavor, but not moisture, the cheese is stringing between layers, and the heat is still on.
That transition requires attention at home. Prepare your eating area, cut your roll, and have your foil or plate ready. Don’t leave the sandwich alone while you make sides or pour drinks. The window between “fresh off the grill” and “starting to lose structure” is small. Timing here is just as important as the cooking itself.
Consistency, too, comes from practice. The more you make cheesesteaks, the better you’ll understand when to stir, flip, sear, and wrap. Restaurants nail this not just from talent but from repetition. Eventually, you’ll know the griddle’s ready just by the sizzle when meat hits it. It’s a language of timing and instinct that only becomes fluent after a few homemade batches—but once you get it, the results speak louder than any online video ever could.
Conclusion
A great Philly cheesesteak is a symphony of timing, skill, history, and balance, not just a few ingredients. You can capture the essence of the sandwich by selecting the ideal cut, perfecting your slice, mastering griddle heat, honoring traditional cheese-onion interactions, and putting it together with intention.
Although they aren’t particularly noticeable, these restaurant-level secrets are crucial. Focus on the basics, authenticity, and technique instead of ostentatious garnishes and YouTube tricks, and you’ll get closer to the South Philadelphia experience that has been beloved since the 1930s.